I friend of mine is developing a C++ program on her PC for Windows but would be away from it for a week. With only a Mac at her disposal, she wanted a few options she could use for continuing her work.
Here are four methods for getting access to a Window’s environment for development on a non-Windows computer.
Method 1: Using Wine to run .exe programs.
Works with Mac, Linux, and Solaris

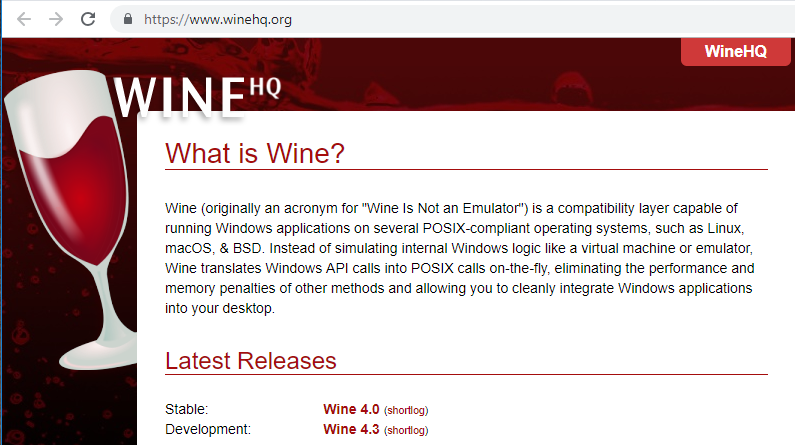
Wine translates the binds that the program expects with Windows to something that Mac understands.
There are lists available to check for the program you want to use is compatible before you go through the process of setting it up yourself.
This works best if you need to run just a single program without needing a full Windows environment, but it’s the most limited of the options with what can work with it.
Pros: It doesn’t require any large volumes to take up the hard drive space on the Mac, easily reversible changes.
Cons: May not be able to run the program you want
How To Install It
You can download Wine from their website (www.winehq.org) and follow the instructions they have for your system.
For easy-to-use Mac instructions, download the Mac .pkg Version and follow the .pkg steps that they list:
“To install from a .pkg file, double-click on the package, and the usual macOS installer wizard should open. The process should be self-explanatory. It is possible to install the package either for all users (needs administrator privileges), or just for your current user. After the installation is finished, you should find an entry “Wine Staging” or “Wine Devel” in your Launchpad. By clicking on it, a new Terminal window opens with a short introduction into some important wine commands. You can now directly start wine/winecfg/… from the Terminal, as the PATH variable is set correctly. For user convenience, the package also associates itself with all *.exe files, which means you can run windows executables just by double-clicking on them.”
Method 2: Running a Windows VM using VirtualBox
Works with Windows, Mac, Linux, and Solaris

This method will take up some space on your host machine (between 20–40 GB) but will give you access to a full windows environment.
This is great for programs that are not compatible with Wine and you still want the ability to easily clean up once you’re done or for gaining access to a full Windows environment.
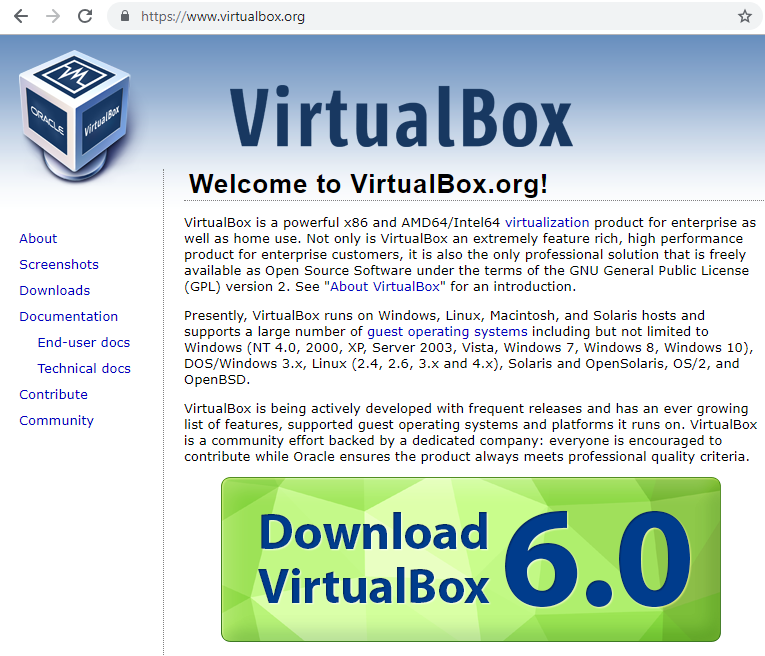
VirtualBox is maintained by Oracle and allows you to run Virtual Machines, basically a computer within your existing OS, on a variety of different environments.
There are extra steps needed if you want to be able to easily copy files between Windows and the host computer, so you’ll want to either A) keep them in the cloud (drive.google.com or dropbox.com are good ones) or B) put them on a flash drive (although it may be tricky to get the Windows VM to see it)
Pros: Runs all types of Windows programs, full access to a Windows environment
Cons: Has a larger footprint on the host machine, cannot easily share files between the host machine and Windows.
How To Install it
This option requires you to make two downloads. The first download is VirtualBox, just download and install. The second download is for the Virtual Image that loads Windows, the file that gives the Virtual Machine a starting point. I haven’t used the combo before, so if you run into trouble just let me know and I can walk you thru it.
Download #1 — VirtualBox:
Go to the VirtualBox Downloads Page then click on the platform package that corresponds with your host machine OS. The platform package page will have a link to the program to download and installation instructions specific to your machine.
Download #2 — Mircosoft’s Windows 10 Developer Image:Windows offers a free Virtual Image for developing that you can download and run. Make sure you click on the download button for VirtualBox. (If that image is not available, they have separate ones for testing Internet Explorer you may be able to use, albeit with fewer utilities included.)
WARNING: These images provided by Microsoft expire every three months. Make sure you don’t keep any files inside of it that you don’t mind losing, as you may not be able to get those files once the image expires.
After the image expires, you can delete it and go back to that download page to get the latest one.
Method 3: Using Bootcamp
Works ONLY with Mac

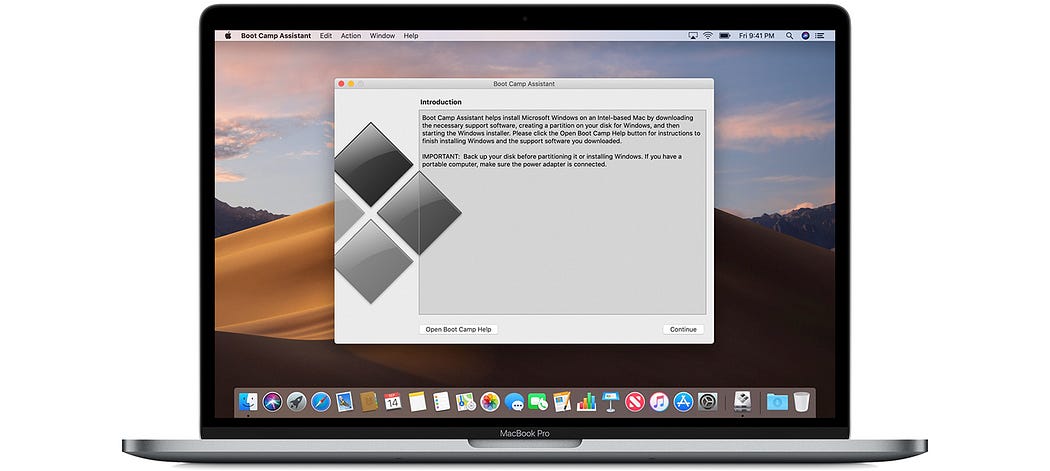
Photo by Apple Support
Mac OS comes with a program called Bootcamp Assistant that allows you to run Windows on a Mac computer. Basically, it allows for Windows to be installed alongside Mac OS, allowing for a fully dedicated Windows environment. The downside is that it requires a large part of the computer’s storage, as you wouldn’t want to run it with less than 50 GBs of storage, that your Mac environment would not be able to use.
Pros: It’s exactly like having a windows computer, but running on Mac hardware
Cons: Requires the most amount of space of any option and is a very permanent
How To Install It:
9to5Mac does a great job showing you the installation steps (link goes to YouTube). Make sure you watch it all the way thru to understand what you’ll have to do before you try installing it on your Mac.
The Windows Image he talks about in the video is available here: https://www.microsoft.com/en-us/software-download/windows10
Method 4: Remoting into your Home Computer
Works with Mac, Windows, Linux.
REQUIRES your development environment to be a computer running Windows and always connected to the internet.
Photo by Chrome Remote Desktop on the Chrome Web Store
If the computer you will be using will have a strong internet connection and you don’t want to install anything large on it, you can set up a Remote Desktop connection that will allow you to access your Windows computer from anywhere in the world. The benefit is that you have the full Windows environment you normally use, so there wouldn’t be a need to download additional programs and would get you running the quickest.
There are several paid options that are around $35/month:
And Windows has its own free, built-in option, but it only works with other Windows computers or their Android or iOS app. They offer instructions on how to turn it on here.
The example I will be using is Google Chrome’s Remote Desktop Extention. It’s free, but requires both devices to run Chrome and someone has to be at the computer you want to connect to in order to give you a randomly generated code that establishes the connection.
Also, Remote Desktops will often have a delay, so any program that requires quick timing or video playback will be cumbersome to use.
Pros: Easiest to set up and run, no large programs to install on the computer you’ll use
Cons: Laggy connections make some programs harder to use, requires you to configure before you need it, using the Chrome Remote Desktop option requires someone to give you the code that appears on the computer you’re connecting to.
How To Install It: Using Google Chrome on your computer, installing it if you haven’t, add the extension Chrome Remote Desktop from the Chrome Store. Then, do the same with the computer that you will be using.
Once you want to start the connection, you have someone that is at the computer you want to connect to click Share from the Remote Desktop app and send you the code. Once you have the code, you hit Access from within the app and type in the code. That’s it, you should be connected!